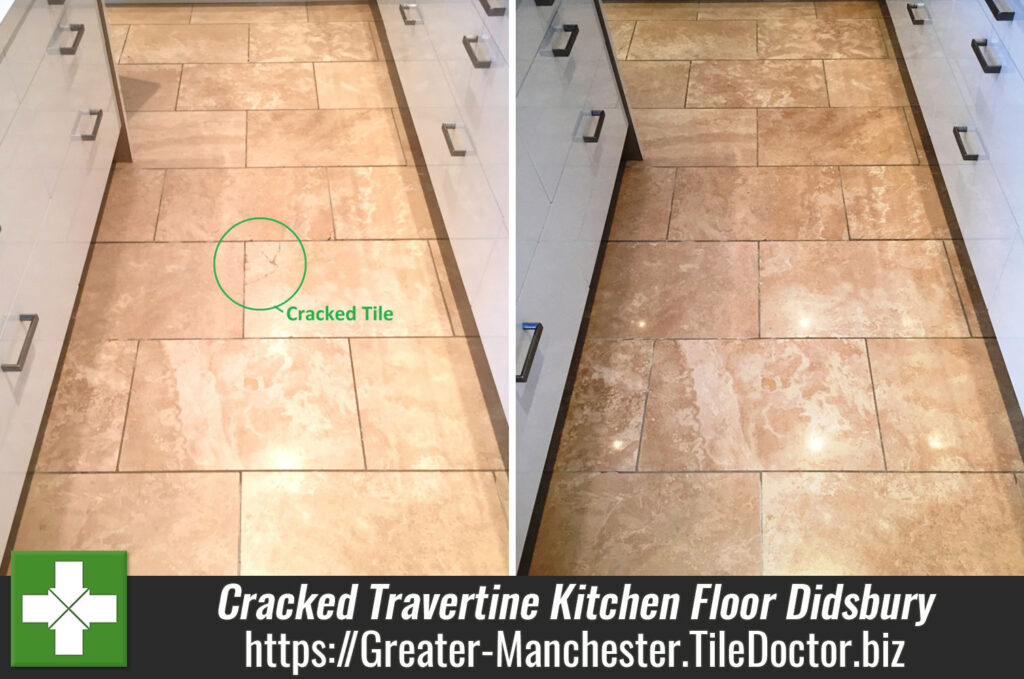
Grubby Tumbled Travertine Shower Cubicle Renovated in Didsbury
Travertine like any natural stone is porous and needs to be sealed if you want to maintain its appearance. As a result, it is not something I would recommend for use in a shower cubicle such as this example at this property in Didsbury. The sealer had long worn off leaving the stone vulnerable to stains from soap dyes and washed in dirt. The shower cubicle was also stained with mould which had taken a hold in places.
 |
 |
My client had tried all sorts of cleaning products and recommended solutions but had failed to get a handle on the problem and so decided to call us in. I popped along to the property to do a site visit. It is always better for us to see the job so we can present an accurate quote, rather than just from pictures. I carried out a small patch test to with several different products to see what would work best and to show the client it could be solved. They were happy with the potential result and agreed to my quote. With that agreed we arranged a mutually convenient time to return and complete the work.
Cleaning a Tumbled Travertine Tiled Shower Cubicle
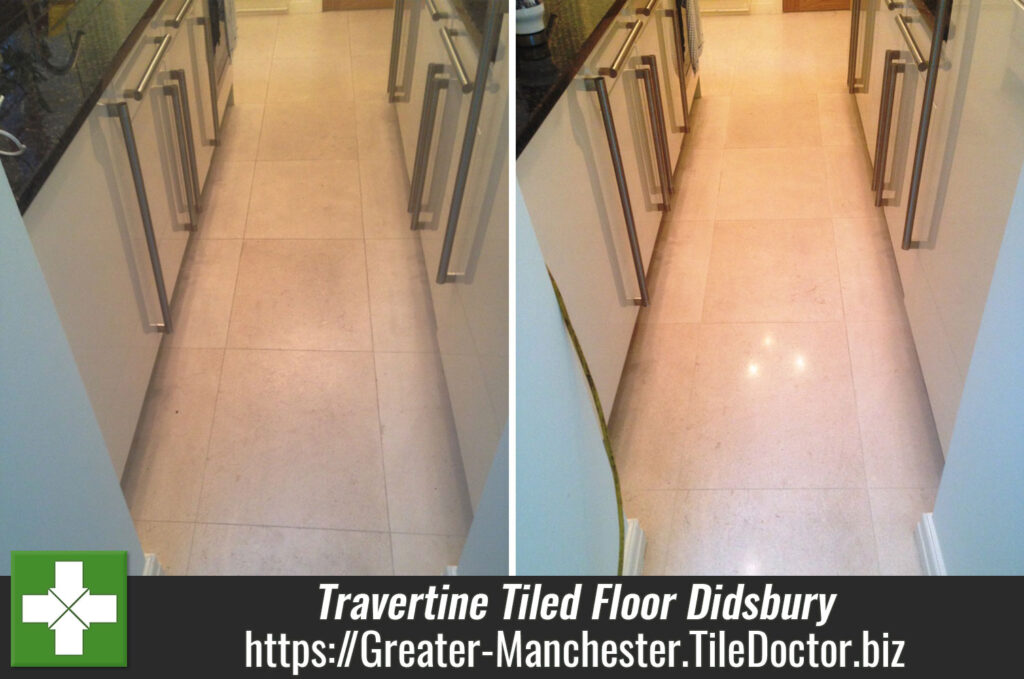
My approach was to deep clean the travertine with a strong dilution of Tile Doctor Pro-Clean sprayed onto the tile and grout and then scrubbed in by hand. This is assisted with a steamer to help lift the dirt from the pores. Tile Doctor Pro-Clean is a concentrated, multi-purpose high-alkaline cleaner, which strips and degreases. It is diluted dependent on how dirty the area is and can be applied neat to help lift the most difficult stains. The dirt and cleaning solution was then rinsed off with water and I turned my attention to renovating the appearance of the Tumbled Travertine with a series of six inch burnishing pads fitted to a hand buffer.
 |
 |
The burnishing pads are applied in series from coarse to fine starting with the 400-grit pad which deep cleans the stone and removes old sealers, coatings and any remaining contaminates. Water is used to lubricate the process and the soil generates is rinses off the Travertine before moving onto the next pads (800-grit, 1500-grit and finally 3000-grit) which refine of hone the stone back to its original appearance. This process is always easier in the shower as the water can be drained away, in other areas we would use the wet vacuum to extract the waste.
Sealing a Tumbled Travertine Tiled Shower Cubicle
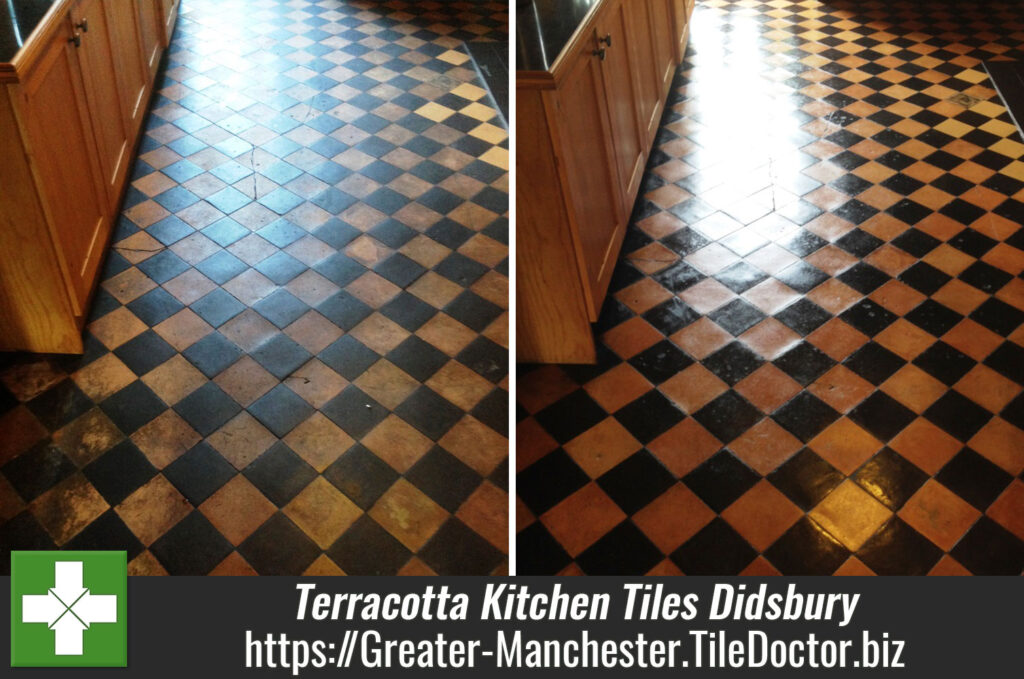
Once the shower tiles were dry, I applied two coats of Tile Doctor Colour Grow to seal the tiles and protect them going forward. This is a colour intensifying sealer that soaks into the pores of the stone preventing dirt from becoming ingrained there and thereby providing long lasting protection. As well as an excellent stone and grout sealer, Colour Grow is fully breathable so any damp trapped behind the stone can rise through the tile and evaporate.
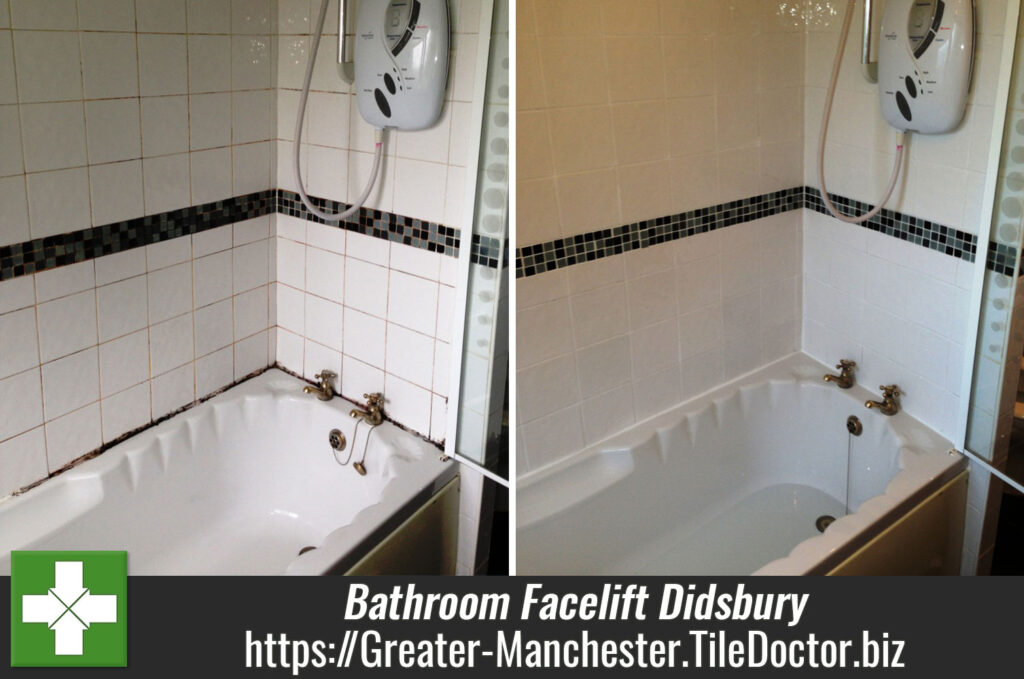
Once that was completed, I stripped out the old silicone sealant around the base of the shower wall and tray and then replaced it with fresh using Jasmine coloured silicone.
 |
 |
The Tumbled Travertine shower cubicle looked unrecognisable after I had finished and my client who was most impressed with the transformation left the following glowing feedback:
Most supermarket tile cleaning products are unsuitable for cleaning sealed natural stone (always read the label) so for regular cleaning going forward I recommended Tile Doctor Aqua-Pro. It’s a spray on cleaner that has a neutral pH formula so its safe to use on sealed stone yet its strong enough to eliminates soap scum build-up and hard water deposits when used regularly. The fresh lemon scent leaves the shower smelling clean and fresh.
Professional Renovation of a Tumbled Travertine Shower Cubicle in Greater Manchester
Grubby Tumbled Travertine Shower Cubicle Renovated in Didsbury Read More »