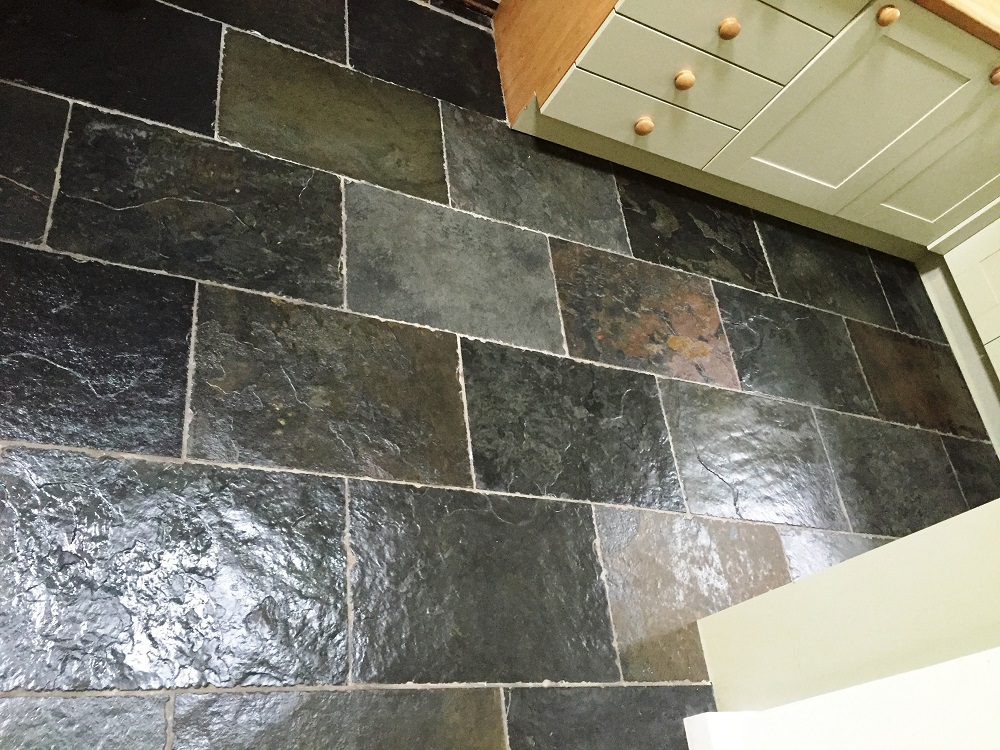
Restoring a Victorian Tiled Vestibule Discovered Under Carpet in Cheadle
The owner of this property in Cheadle discovered a small Victorian tiled floor in the vestibule at the front of the house, under what they described as a “grotty grey carpet”. They couldn’t believe they had been covered over by a previous owner and were made up to find such a lovely period feature which although very dirty appeared to be complete.

I was asked if I could replace the loose grouting and renovate the tiles to bring back as much of their original character as possible. Happy to oblige, I visited the property to inspect the tiles and confirm the work needed to restore the floor. From this I provided the owners with a quote which they were happy to accept, and we arranged a time to complete the work.
Cleaning and Repairing a Victorian Tiled Hallway Floor
I started the renovation of the Victorian vestibule tiles with a deep restorative clean to remove heavy soil and old sealers. Properties of this age do not usually have a damp proof membrane and I was wary that using a lot of water on the floor may exacerbate damp issues and take much longer to dry out; with that in mind I decided to use a low moisture Gel cleaning product called Tile Doctor Oxy-Gel.
The product is applied to the tiles, the after about ten minutes it’s worked in with a mechanical buffing machine fitted with a black scrubbing pad. This process brings the dirt to the surface and turns the gel black in the process. The machine just about fitted into the space however the circular pads struggle to get into the corners so for that I then reverted to a handheld scrubbing brush and more Tile Doctor Oxy-Gel. The now soiled gel was then removed using a little water and a wet vacuum system designed to keep the mess to a minimum.
There was evidence of white efflorescence salts on some of the tiles which isn’t surprising considering the age of the property and the location of the tiles. To resolve this, I gave the tiles an acid rinse and sticking with the low moisture then I applied Tile Doctor Acid Gel. This product further cleans up the tiles and being acidic dissolves the salts and neutralises the pH level of the floor after the use of Oxy-Gel earlier. I used the same system as before, working the gel in with a pad and by hand then extracting with a wet vacuum.
Sealing a Victorian Tiled Hallway Floor
After carrying out some minor grout repairs, we left the area to fully dry overnight before returning the following day to seal with Tile Doctor X-Tra Seal. This product is fully breathable and so will allow for moisture to rise through the tile and evaporate at the surface, perfect for a floor without a damp proof membrane. Once done the floor had a nice matt finish, but the delightful colours of the original tiles now really shone through and lifted the whole entrance area.

My client was very pleased with the outcome and left the following glowing comment on the Tile Doctor feedback system.
For aftercare I recommended the use of Tile Doctor Neutral Tile Cleaner, it’s a gentle yet effective floor cleaning product that’s safe to use on sealed tiles and will help to keep the area looking pristine in the future.
Professional Restoration of a Victorian Tiled Vestibule in Greater Manchester
Restoring a Victorian Tiled Vestibule Discovered Under Carpet in Cheadle Read More »